I had these grand plans for this year of self-employment. I was going to write a book, take up all sorts of hobbies, spend tons of time outside, catch up on my long to do list of items that are not so urgent, but I really should do them. Buuuut, after almost one whole academic year of self-employment, I haven’t done many of those things. It turns out that no matter how much time you have, somehow it seems to fill up with other responsibilities.
Making Time to Create as Self-Improvement
So, as I mentioned in my recent blog post, Making Time to Create, I’ve realized that I need to make time for the things that matter to me – particularly for the things that I would like to get better at. For me, this year, it’s been multimedia.
I’ve discovered that, as a learner, I find lots of value in watching very specific and focused videos that highlight key elements of what I’m trying to learn. For the past year or so, my learning has been focused on powerlifting, and the resources that really resonate with me are those that help me improve my form, answer specific questions about technique, or demonstrate new movements that will support my goal of increasing the weight I can lift.
Since they’ve been so helpful to me in a personal area of growth, I thought it would be a worthwhile challenge to see if I could improve my own skills in creating video.
Self Challenge #1: Video
I started with video because I am already actively and regularly taking photographs, but I almost never take video. However, when I’m learning, and I have the choice to either look at a picture and read text or watch a video, I almost always prefer the video. In terms of capturing a moment or an experience, I feel like video can be much more descriptive and engaging.
Even though I have taught video editing and digital storytelling for many many years – it was one of the first classes I taught at Munich International School when we got our very first iMac in 2001 – I’m still not that great at it, mostly because I don’t do it very often. Plus, now that it’s so easy to capture and create content on a phone (rather than having to bring everything to a laptop), I loved the idea of challenging myself to update my skills to a more mobile setting.
The Value of Time Limits
So, I was inspired when, earlier this year, I had a conversation with Pav about how instead of taking pictures at training sessions, he takes short video clips and puts them into a trailer on iMovie on his phone. At the end of the day, he shows the trailer to the participants right then and there. I watched the process in action, Pav made it look easy of course, and it was so fun to see the finished product within the timeframe of one training day. This was a perfect challenge for me!
I’ve been creating Vines on a regular basis for the last few years, but nothing fancy, and certainly no real editing or thought process behind the clips within one 7-second video, so this was a great opportunity for me to take more purposeful video clips and combine them into a longer movie for a focused professional goal. It took me a little while to get myself organized and focused enough to give it a try (I created lots of Vines at Create, Capture, Curate, rather than creating a trailer, for example), but I finally got down to work at our #leadingthechange Eduro Learning Institute in Seattle in March.
It was super easy to take the video clips along with pictures – just switching back and forth between photo and video is no trouble at all. The problem for me was remembering to take the video (since I naturally lean toward photography), and then making sure I had a relatively good focus for each clip (still need a lot of work in this area). Knowing there would be minimal editing and cropping of each clip, and that I wanted to throw everything together into one trailer by the end of the day means that each clip you take has to be relatively viable. So, before you start filming you need to think about the framing, the lighting, and the visual elements.
The pressure of the time frame, making sure the different clips fit together into a common theme, and figuring out how to create a trailer in the iMovie app (which was by far the easiest part) meant that I spent a good hour or so of sitting quietly in the corner putting it all together (huge thanks to Jeff for being my co-facilitator since he kept me on task when I was so “in the zone” of creating the trailer).
I feel like there’s no way I could do this quite the same way if I was running a session on my own at this point in time, but I can tell that it will get much easier with practice so I just have to keep at it!
Here’s the trailer I created:
Doesn’t that give you a much better mental picture of what we did compared to just these photos? Side note: clearly I have fewer photos than normal because I was focusing on the video, but still!
Even better(!) than the finished product, I realized that in the process of creating the video, I learned how to:
- film properly using my iPhone
- ensure that I had a variety of clips from different angles for the same big theme
- edit clips before importing them into the trailer
- sort and categorize clips into appropriate sections on the trailer
- summarize key elements of the day into the statements highlighted on the trailer
- tell a story through quick clips and statements
- export my video to my camera roll
- upload my video to YouTube through YouTube capture
And the whole process was so engaging, because apps are designed to teach you as you explore them, that I didn’t need anyone’s help. I was able to discover all of this through the process of creating. Isn’t that how we want our students to learn too? How fun would this be as a challenge for students to create when you have a special event at school? Or even for the teacher to create to celebrate amazing learning during a big project?
What I really loved about this whole process is that because I did the whole thing on my phone – even the upload to YouTube – I don’t have to worry about going back after the day and editing clips together or remembering different elements, or even just being responsible to follow up days or weeks after the event ended. Plus, everyone that was in the room had a great buzz about the fantastic work that they did and this was a lovely (even if a little cheesy) celebration during the actual event itself!
Combining the Personal and the Professional
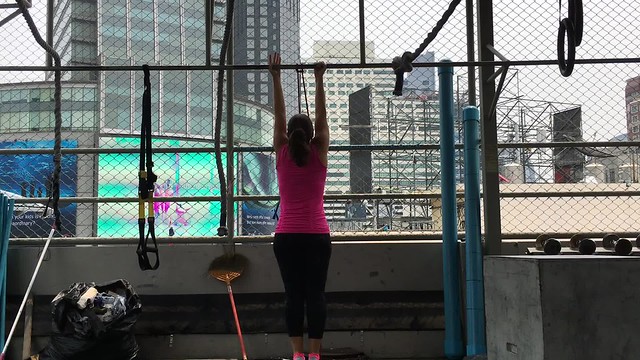
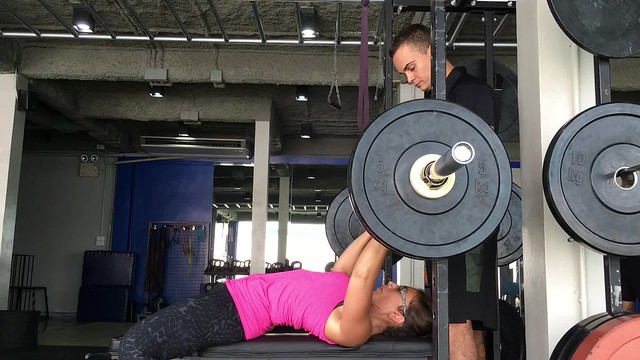
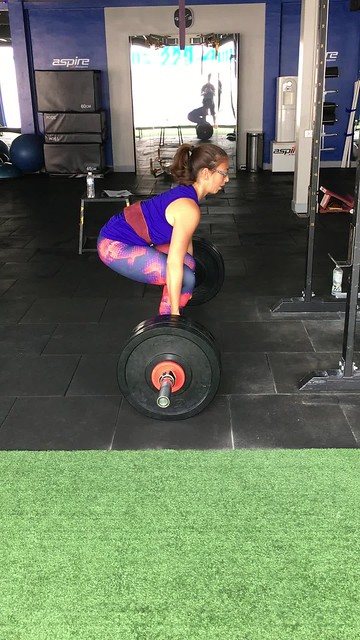
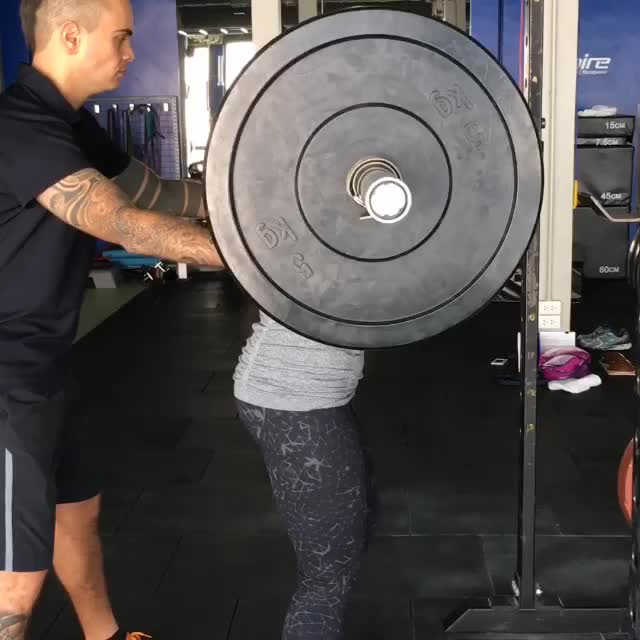
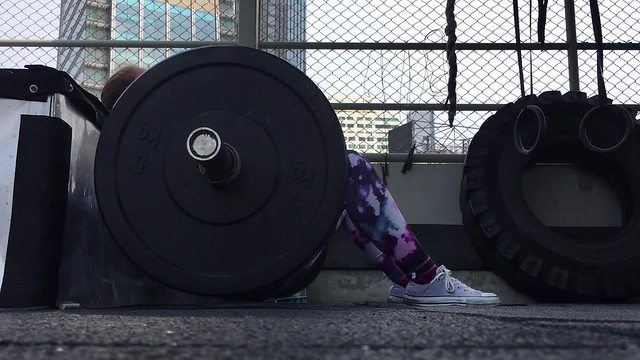
Since I don’t have tons of events that I get to facilitate with others (most often I’m on my own), I haven’t been able to create more of these (yet!), but I have been testing out my mobile iMovie skills with lifting videos too. I love when I can combine a hobby, a passion and a new skill! I’ve been filming my lifts to check my form (and loving Iron Path to really critique myself for anyone who’s interested), and then pulling together separate clips to form little mini progress videos for myself.
Here are a few of my main lifts for you:
Quick Mobile Filming & Editing Lessons Learned
I’m not sure why I’m uploading these to Flickr instead of YouTube – I think mostly because I am trying not to mix my professional YouTube channel with personal things (but I’ve been doing that all along with Flickr), and eventually I’ll probably upload them to my personal Google account. Either way, all this playing has taught me a few things:
- always hold the camera horizontally (you can clearly see which ones were held vertically above). It just looks so good on the phone when you hold the camera vertically!
- the video capture from my phone is kind of a zoomed in version of the photo capture, so I always need to hold/place the camera much farther back than I think.
- autofocus and lighting are much harder with video footage – especially when I’m filming myself and not actually watching the filming as it’s happening.
- always select the portion of the clip you actually want to use before you import into iMovie
- love the auto transitions in iMovie – so you don’t have to worry about one clip merging into the next, it just does it all by itself!
- a trailer is great for when you have lots of clips, a project is good for when you just have one or two scenes you want to bring together.
The Classroom Connection
Clearly I have a long way to go before these are part of my regular routine, but I’m getting there! And I love that I can practice in lots of different ways (from Vines, to filming my lifts, to more purposeful PD recaps) so I get lots of opportunities to close the taste gap for myself.
A few really interesting things about all of these quick examples that relate back to the learning experiences we design for our students, are:
- I’m making these videos for myself, but I’m always sharing them with a wider audience (not just via uploading to Instagram and Flickr, and sometimes Facebook, but also by purposeful tagging). I love that a reflective piece for me, can also both improve my video editing skills, my lifting form & start a conversation with others interested in the same topics that I am. How are we empowering students to find their authentic audience?
- Sharing these videos is a risk. I know I’m not doing everything right and I’m certainly not lifting as much as other women I follow can lift (to be fair a lot of them are competitive powerlifters and I definitely am not). But I like that I’m forcing myself to do it. I’m putting myself in a slightly uncomfortable space for the purposes of learning. How do we create that safe, but still a little bit uncomfortable space, for students to take a risk based on their learning?
- I’m not being judged on the quality of what I create, but they get better and easier every time. When do we give students the opportunity to create just to try so that they can learn how to improve without the pressure of assessment?
- I love having the opportunity to fail (I filmed last week’s chin-up video vertically so when I tried to edit it, it cut off my head and my feet. I did better this week). Because the videos have a valid purpose for me, that failure is just a quick lesson in how to create better videos and I’ll keep trying – not an “oh well, I did my best, I’m never looking at that again” experience (which I think is quite common when we ask students to create video).
- Tracking my progress – both in my ability to make quick videos easily AND in my actual lifts – is super motivating. I love looking back and seeing what I could lift AND how I filmed it a few weeks ago compared to now. What opportunities do we provide for students to track their learning, in a medium that works for them, so that they can reflect on their progress?
How are you finding time to create?
What are you making time for lately? Are you finding ways to be creative in a medium that suits you? Have you seen any opportunities for blending your professional and personal interests to learn a new skill? How are you providing these kinds of opportunities for your students?
Also: stay tuned for the next installment! I’m working on another challenge right now!
Image Credits:
- Hundred Pair by arbyreed, Creative Commons Licensed on Flickr
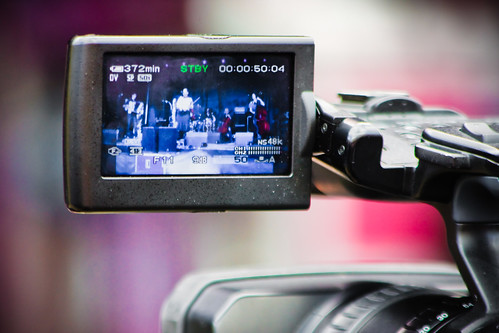
- Viewfinder by Garry Knight, Creative Commons Licensed on Flickr
- Despertador by Henrique Simplicio, Creative Commons Licensed on Flickr



Hey Kim,
Great post, but the burning question – where’s ‘the book’?
@Abena,
By “the book” you mean the one I thought I would write this year? Uh oh. Not even close! I have a bunch of free pdfs in the works, but not a full length book… yet!
Here is my Self challenge: http://aleciagardner.blogspot.com/2016/04/spring-fever-is-here.html
@Alecia,
Glad you gave it a try! Would be fun to see your acrostic with some visuals too :)
I wanted to be fancy with my comments about your trailer, but I only have one word –AWESOME!!!!
It was so simple yet so informative in just over 1 minute. I can’t wait to try it out.
Thanks for the challenge.